Most surfaces in the repository are accompanied by PoVRay files to render them, so I think it is time to give a little introduction. You will need the software, available for free. This is a text based ray tracing program. Essentially, you need to describe a scene with objects in it, including light sources and camera. A good start is the following:
global_settings { assumed_gamma 2.2 }
#include "colors.inc"

camera {
	location <0,0,-4>
 	right x*image_width/image_height
	angle 40 look_at <0,0,0>
 }


light_source {
	 <5,5,-10>
	color  White
 }
 light_source {
 	<-5,5,-10>
	color  White
 }
This tells the software a sensible gamma calibration, loads names for colors, and places camera and light sources. Important here is the coordinate system. I like to center my objects at the origin <0,0,0>, and place the camera four units (meters) behind it. The angle 40 is a mild wide angle. The x and y coordinate are horizontal and vertical (screen) coordinates, and z is for depth. I have also placed two light sources up to the right and left behind the camera.
#macro surf(x0,y0)
 .13*<-(x0*(-3*cos(y0) + x0*x0*cos(3*y0))),
 -(x0*(3*sin(y0) + x0*x0*sin(3*y0))),
  3*x0*x0*cos(2*y0)>
#end

#declare x0=0;
#declare x1=sqrt(3);

#declare y0=0;
#declare y1=2*pi;
Next we need some formula to parametrize a surface. Up above is the code for the Enneper surface. We also need to define the range of the parameters. We do this using variables so that it is easier to change the code for something else.
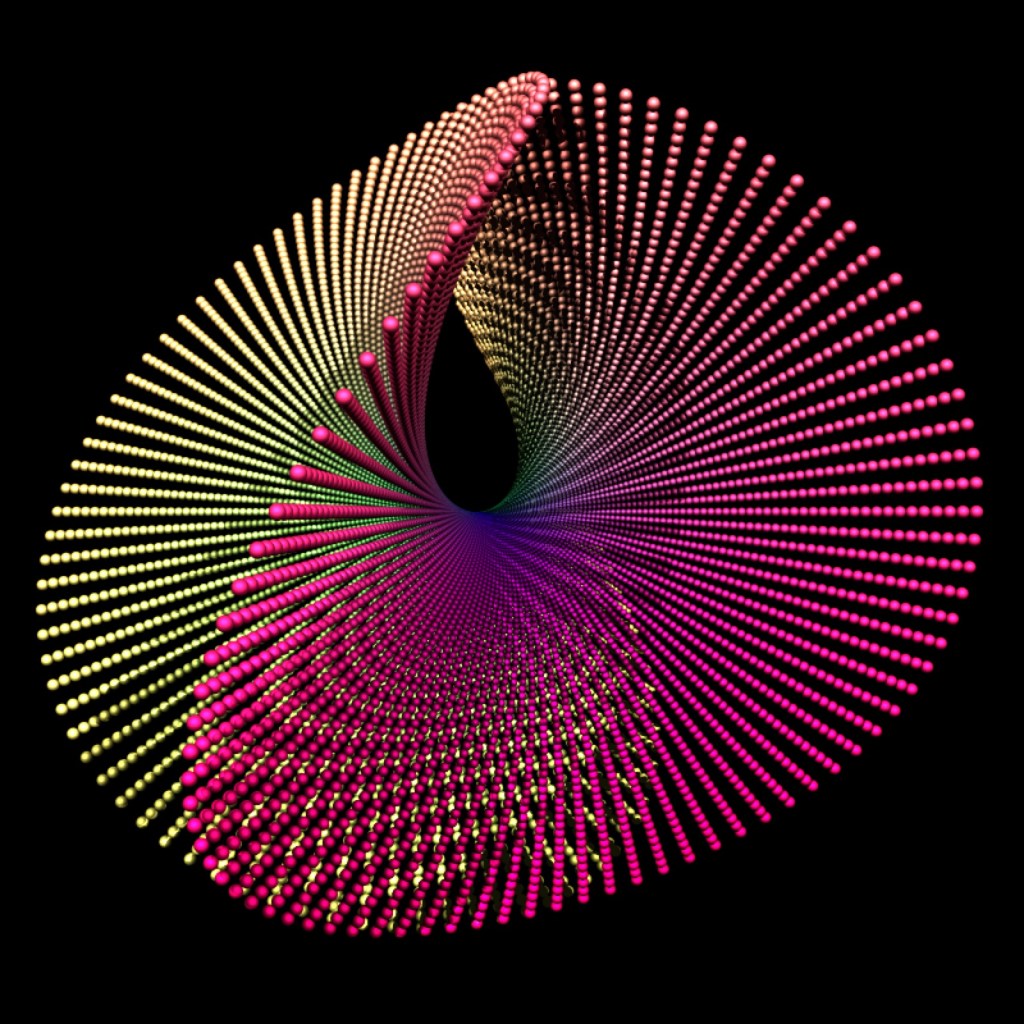

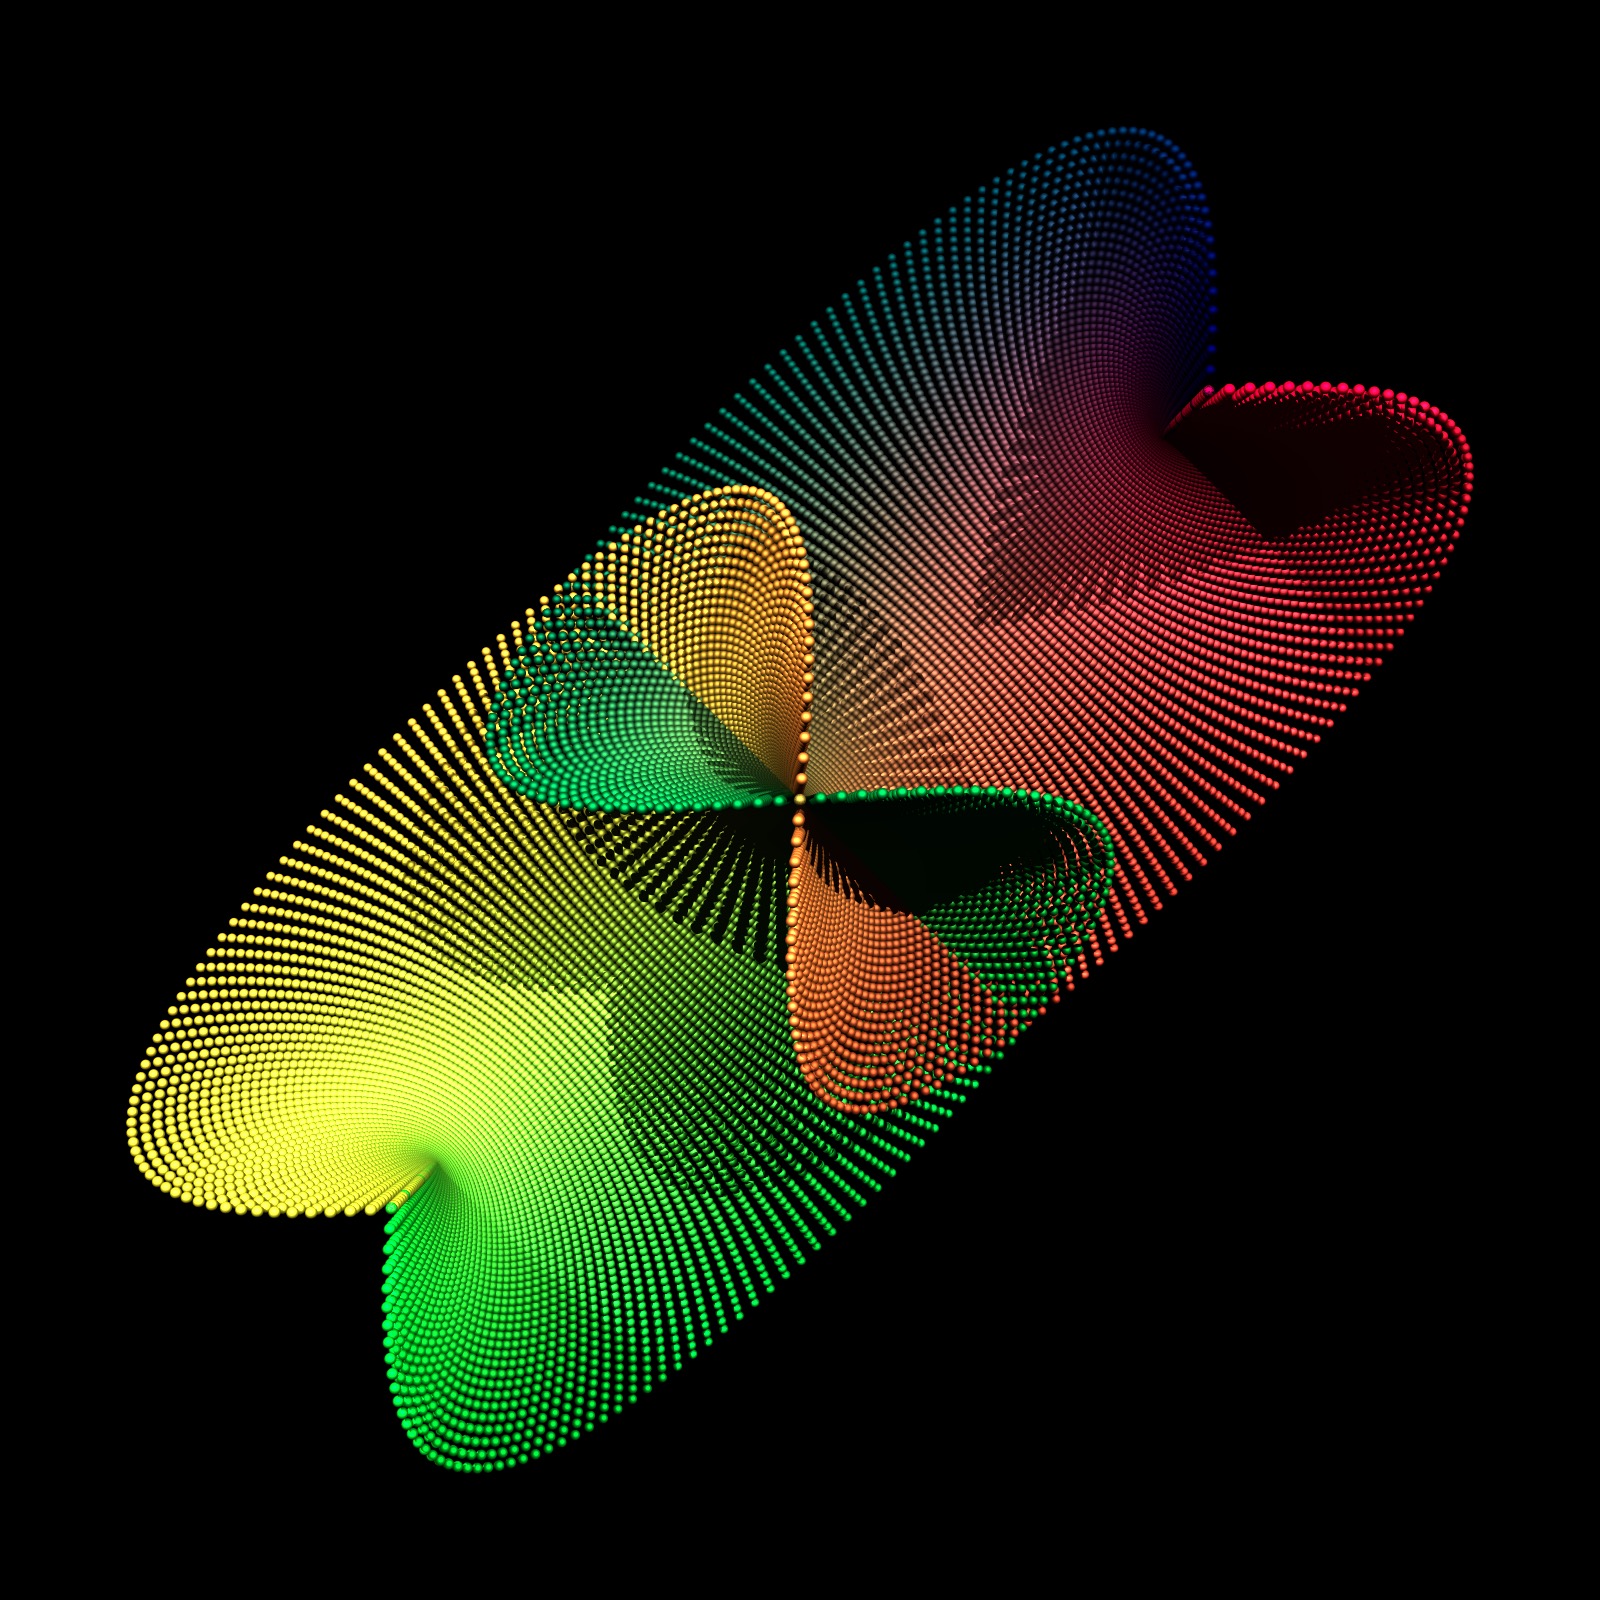
Today, the plan is to make something like the images above: Placing small colorful beads at the grid points of a parameter grid. The code for this is a simple loop:
#declare eps=0.0001;


#macro make_sphere_carpet(x0,x1,xd,y0,y1,yd,rad)
  object {
    union {
      #local xc=x0;
      #while (xc < x1+eps)
        #local yc=y0;
        #while (yc<y1+eps)
          object {
	    sphere {surf(xc,yc), rad*xc}
	    pigment {rgb <(xc-x0)/(x1-x0), (sin(yc)+1)/2,.4>}
            finish {
	      specular 1
	      roughness .1
	      metallic
            }
	  }
	  #local yc = yc+yd;
	#end
	#local xc = xc+xd;
      #end
    }
 }
#end
The macro make_sphere_carpet takes the previously defined ranges of the parameter values as arguments, and in addition parameters xd and yd that determine how many spheres will be placed. rad controls the size of the spheres. Here, they also increase with the radius xc for dramatic effect. For each grid point (xc,yc) a sphere is placed at the coordinates surf(xc,yc), with a color that is also determined by the coordinate.
#declare xm=80;
#declare ym=200;

#declare sphthick = 0.01;


object {
   make_sphere_carpet(x0,x1,
      (x1-x0)/xm,y0,y1,(y1-y0)/ym,sphthick)
   rotate <-90,-30,0>
   translate <-.1,0,0>
}
The rest is simple: We need to decide on how many spheres to place, and how big to make them, and call the macro. The last bit rotates and translates the surface in a decent position. The rotate command is a bit strange, the arguments are rotations in degrees about the x-, y-, and z-axis, in this order. Next time we will learn how to add a polygon mesh to all of this. Below is a sphere carpet for Catalan’s surface.